Onngi are Oversized Pots?
What are I learned about traditional Korean ceramics methods
POTTERY
On our second week in Korea, I took a 7-day ceramics course. I share more about how found the course and the overall experience in my Learning Korean Culture in a Clay Class post. This post delves more deeply into the ceramics technique themselves.
The Master Ceramist who was the class teacher is known for both wheel-throwing and a uniquely Korean ceramics method called Onngi. Aside with this video I found on YouTube, I knew virtually nothing about Onngi going into the course. I learned a lot more about the craft and its purpose along the way that I want to share at least a little bit about here. Caveat: the language and cultural barrier likely means some of my understandings are going to be inaccurate.
Onngi is most well known as the craft of making vessels for kimchi and other ferments. Because pickled and fermented food is such an important part of the Korean diet, the Onggi potters had to develop fast and efficient ways of making storage jars, and these jars are also referred to ask onngi. However, I learned that Onngi, it was actually used to make all sorts of vessels, large and small.
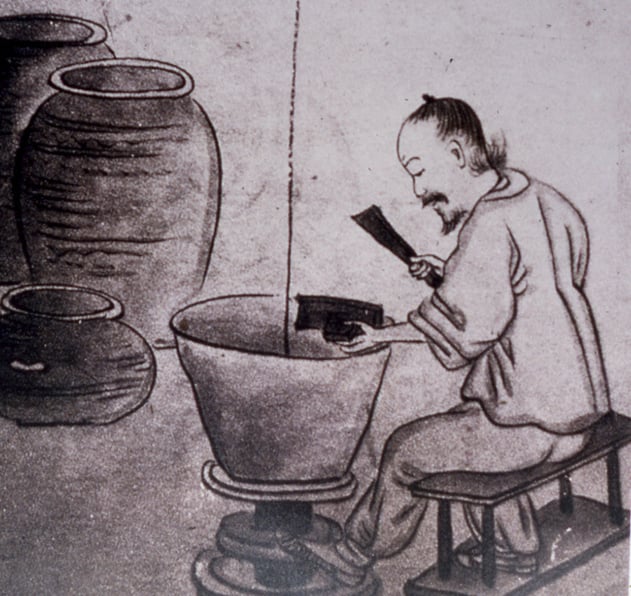
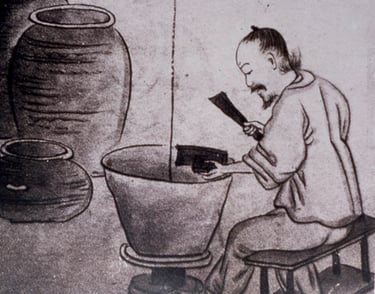
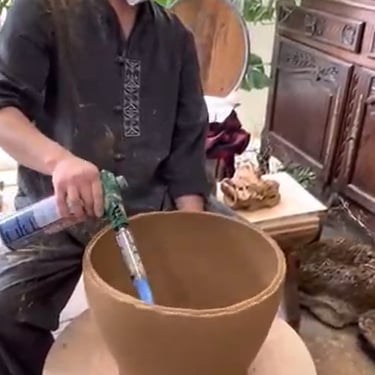
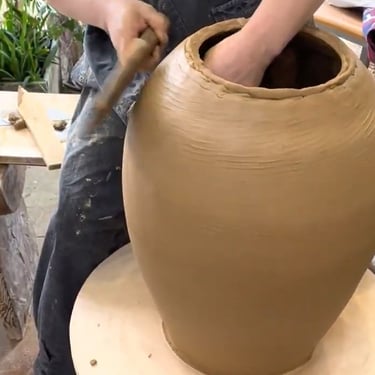
The actual defining aspects of Onngi seem to be threefold. First, the clay used, a more gritty iron-rich clay than Kaolin-rich white porcelain clay that was also available and used frequently for other makes in Korea. This clay is quite maleable but also able to hold its form very well while quite wet due to the amount of sand and large particles. Second, the clay is generally coated with a very natural glaze made of a slurry partially decomposed leaves and only fired one time, which also makes for a slightly porous material that allows some amount of oxygen exchange and for the kimchi to "breathe". Third, is the making method itself, which involved the use of large clay coils. The pots are then formed with specialized wooden tools, stretching and shaping the pot while it spins on a kick wheel that is set in a pit in the floor. No water is used, so they can make giant jars very quickly without the jar collapsing as it gets bigger.
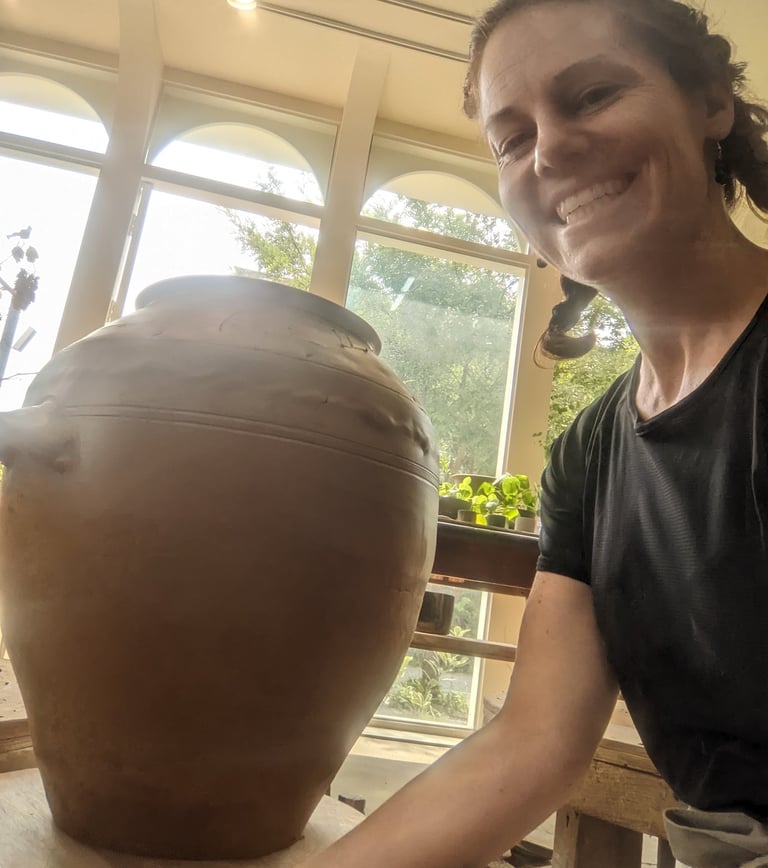
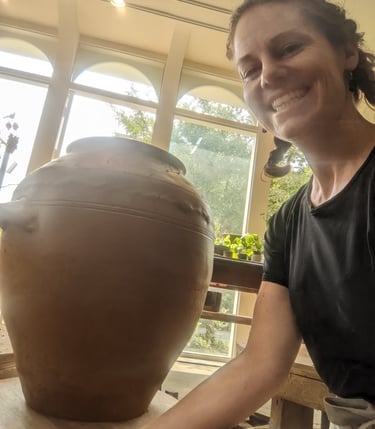
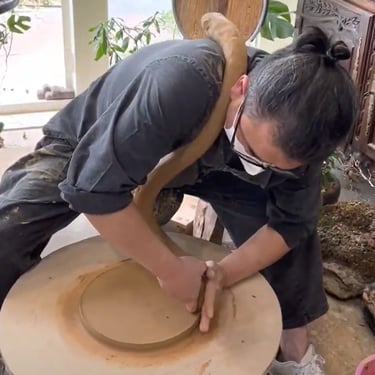
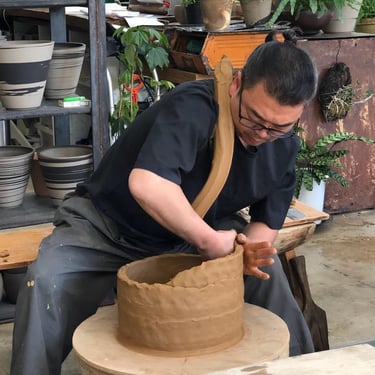
While the import of this last bit may be a little over the heads of those of you haven't dealt with clay much, it's the build with no water that's so interesting and different. In most Western practices, when you combine two pieces of clay, you nearly always seal them together by first scoring (ie roughing up) the edges and then adding water or slip (a clay-water mix the texture of yogurt). Instead, Onngi continuously builds up merely by pressing and smearing one clay coil into another using a particular hand motion. Below, I've tried to screen capture each critical step of the process we learned, as executed by Master Kwak. He completed this roughly 3ft high pot in an astounding 28 minutes!
I wasn't able to participate in the other one-week course, wheel throwing, taught at the Ceramic's Masterclass due to timing and cost. But, as wheel-throwing is my preferred practice in clay, I did get to learn some basics from other students and a few small demos from the master.
What's so fascinating about the wheel throwing, is that it follows basically all the same broad steps as western wheel throwing, but its like each of those steps is done opposite. For instance, while in the west we almost universally learn to throw with the wheel turning counter-clockwise, here its taught clockwise. Consequently, most of your hand work is done on the left side of your body instead of the right.
Similarly, while we all "pull" the clay up into a cylinder to make most forms, in west we direct most of the pressure from the outside while in the east its from inside the pot.
In both east and west, we prepare the clay before throwing it in a process called wedging (similar to kneading bread); but in the west we are usually taught to cut-and-slam and then wedge "bulls head" style. In the east, "spiral wedging" is king and great deal of emphasis placed on it. The Master and many others claim it takes three years to truly master the spiral wedge!
A final major difference is the eastern practice of throwing "off the hump"--essentially, putting one larger lump of clay on the wheel and making multiple pieces from it and cutting them off rather than starting the with amount of clay you need to form one piece as we usually do in the west.
While I doubt I will make many traditional onngi vessels, and the jury is out about whether I can adjust to a wheel turning the opposite direction when I throw, I'm confident I can incorporate many of the techniques into my practice. For instance, Master Kwak taught us that you can use the base-making technique in onggi to create a much more solid base for very large platters that are less subject to warping than if you used wheel-throwing. And throwing off the hump provides a much more efficient process when making a series of similar sized objects. I'm so excited to try these these new techniques out when I finally get back to my studio in Denver!
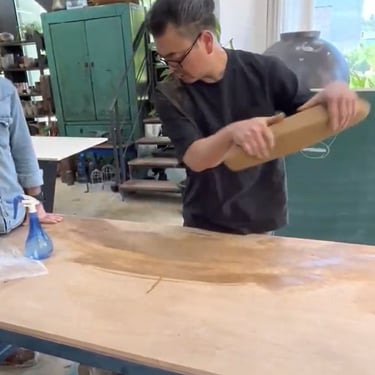


Step 1
Step 4
Step 3
Step 6
Step 2
Step 5
Step 7
Step 8
Step 9
Step 10
Step 1: Create long, thick coils (rough 2in wide) by tossing down a lump of clay in a controlled fashion angled left and right to stretch it as it lands on the table.